How to Implement Authentication in NestJS with Passport and JWT

Implementing Authentication with NestJS
Transitioning from frontend to backend development with NestJS was a challenging yet rewarding experience. While starting from scratch with concepts like “controllers” and “services,” I relied heavily on documentation and tools like Cursor to navigate the setup. Despite the learning curve, I successfully implemented core functionality within two weeks. First of all let’s dive into the authentication domain in NestJS.
JWT for Authentication
Having previously worked with JSON Web Tokens (JWT), I was familiar with its fundamentals. From a frontend perspective, handling JWT usually involves storing tokens returned from a login function and attaching them to headers as “Bearer” tokens. However, implementing JWT from the backend presented new complexities.

NestJS and Passport
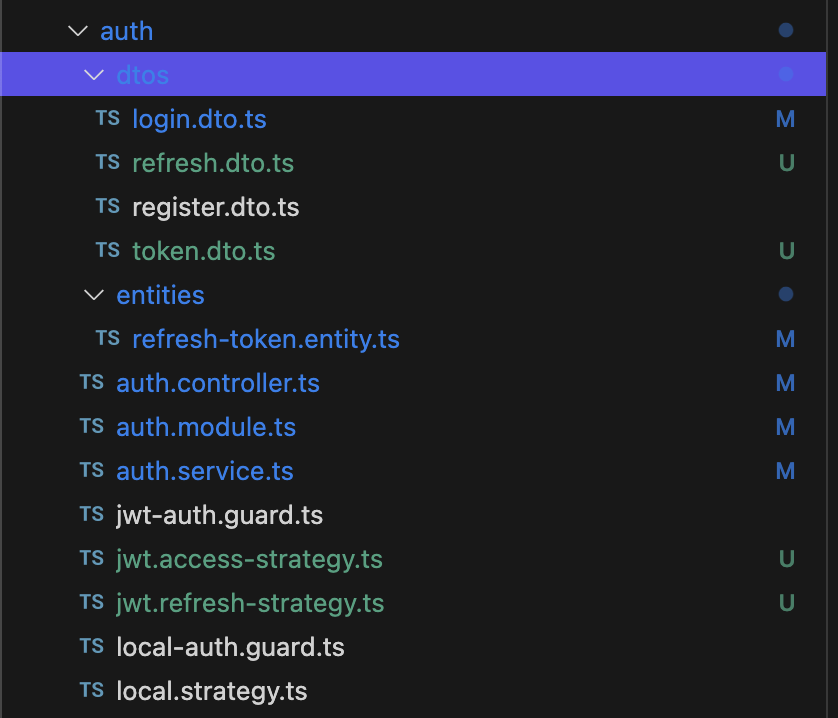
NestJS simplifies authentication by integrating with the Passport library. Specifically, passport-local assists with login validation, while passport-jwt enables JWT-based functionality. Passport provides two primary constructs: AuthGuard and PassportStrategy. The AuthGuard allows integration with NestJS’s UseGuards decorator, while PassportStrategy offers a validate function, which we can customize for our needs.
Implementing Login with Local Strategy
The term “local” initially caused some confusion—it doesn’t refer to localhost but instead to local username/password authentication. Here’s how I set up the Local Auth Guard:
//local-auth.guard.ts

@Injectable()
export class LocalAuthGuard extends AuthGuard('local') {}
The LocalAuthGuard is an extension of AuthGuard, specifying ‘local’ as the authentication strategy. We could also customize it further by adding a constructor or canActivate function if needed.
Please check passport docs for more information.
Then, I created a LocalStrategy to handle email and password login:
//local.strategy.ts

@Injectable()
export class LocalStrategy extends PassportStrategy(Strategy) {
  constructor(private readonly authService: AuthService) {
    super({
      usernameField: 'email',
      passwordField: 'password',
    });
  }

  async validate(email: string, password: string): Promise<any> {
    const user = await this.authService.validateUser({ email, password });
    if (!user) {
      throw new UnauthorizedException();
    }
    return user;
  }
}
Here, validate is invoked by the LocalAuthGuard with login credentials. The validateUser method in AuthService uses bcrypt.compare to verify the password.
Oh, and yeah, the return type is… let’s just say “in progress.” I’ve been wrestling with error handling for what feels like ages. As I experienced before, no one ever seems to have time for clean error handling when deadlines are breathing down our necks. As a result, frontend devs are often stuck trying to pinpoint which network call caused the error. So, I took it upon myself to make sure errors are crystal clear. Stay tuned—I’ll be posting about my solution soon!
The login route in auth.controller.ts then integrates the LocalAuthGuard:
//auth.controller.ts

@Post('login')
@UseGuards(LocalAuthGuard)
async login(
  @Body() loginDto: LoginRequestDto,
  @Request() req,
): Promise<LoginResponseDto> {
	//login handling such as token response.
}
Adding LocalAuthGuard to @UseGuards secures this endpoint, and while the body parameter is technically optional, I included it to enhance readability and Swagger documentation.
JWT Strategy for Authorization
Similar to LocalStrategy, the JWT strategy uses passport-jwt to manage token validation. Here’s how I set up a JWT auth guard:
//jwt-auth.guard.ts

@Injectable()
export class JwtAuthGuard extends AuthGuard('jwt') {
  constructor(private reflector: Reflector) {
    super();
  }

  canActivate(context: ExecutionContext) {
    const isPublic = this.reflector.getAllAndOverride<boolean>(IS_PUBLIC_KEY, [
      context.getHandler(),
      context.getClass(),
    ]);
    if (isPublic) {
      return true;
    }
    return super.canActivate(context);
  }
}
This guard includes a canActivate method that enables public access for certain routes using a custom @Public() decorator, allowing registration and other endpoints to bypass JWT authentication.
The following code sets up JWT strategy configuration:
//jwt.access-strategy.ts
import { ExtractJwt, Strategy } from 'passport-jwt';

@Injectable()
export class AccessTokenStrategy extends PassportStrategy(Strategy) {
  constructor(private readonly configService: ConfigService) {
    super({
      jwtFromRequest: ExtractJwt.fromAuthHeaderAsBearerToken(),
      ignoreExpiration: false,
      secretOrKey: configService.get('JWT_ACCESS_SECRET'),
    });
  }

  async validate(payload: JwtPayload) {
    return { userId: payload.sub, username: payload.username };
  }
}
Here, Passport manages token validation using passport-jwt, which extracts and verifies the JWT from the request’s Authorization header. By configuring options like ignoreExpiration, we maintain control over token validity.
Finally, I applied the JwtAuthGuard globally in app.module.ts:
//app.module.ts

  providers: [
    {
      provide: APP_GUARD,
      useClass: JwtAuthGuard,
    },
  ],
With the @Public() decorator in place, setting JwtAuthGuard globally reduces the need to add it to every route, focusing security where it’s most critical.
In Closing
I love clean code as much as the next dev, but, well… let’s say my code’s currently a little “lived in.” There’s a saying that start-ups can’t afford super tidy code, and hey, I’m sticking with it (convenient, right?). But don’t worry, a refactor is definitely on the horizon—just as soon as I can sneak it in!
